Create New Parts Kits
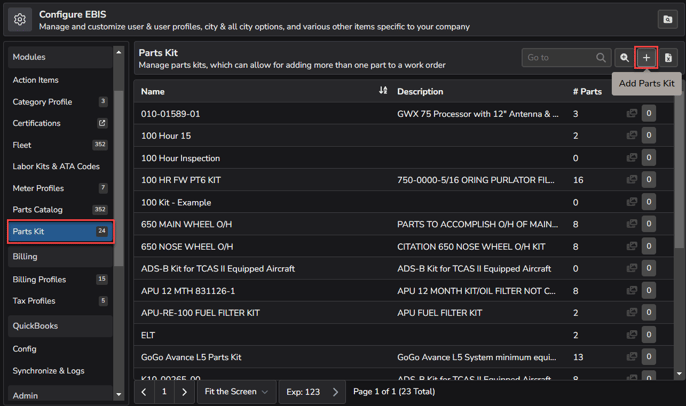
To create a new Parts Kit, proceed to Config > Parts Kit and click the + in the top right of the section.
Note: The Add Parts Kit User Access setting must be enabled for the specific User Profile that will be creating new parts kits.
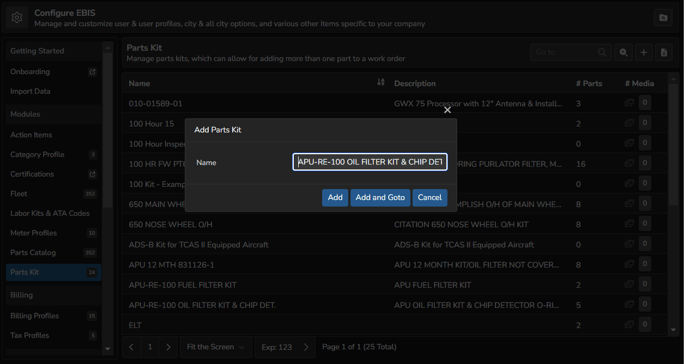
From the Add Parts Kit Screen, enter a name for the new kit and click Add and Goto to add parts and additional details for the newly created Parts Kit or click Add to return to the full Parts Kit List.
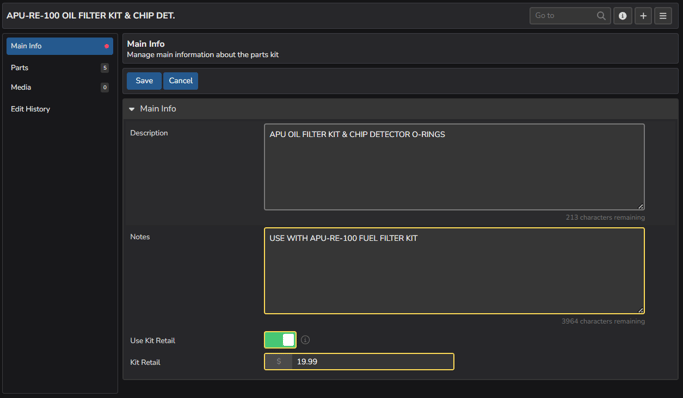
Clicking Add and Goto will pull up the Manage Parts Kit screen, where notes, retail pricing, parts, and media can be added. From the Main Info subtab, description, notes, and retail price for the Parts Kit can be set. Click Save after making any changes.
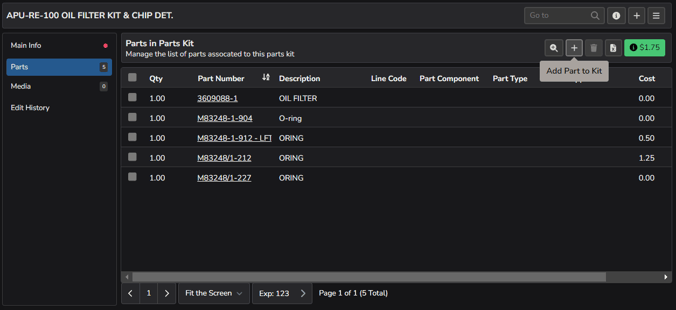
Individual parts can be added to the Parts Kit from the Parts subtab by clicking the + in the top right of the section.
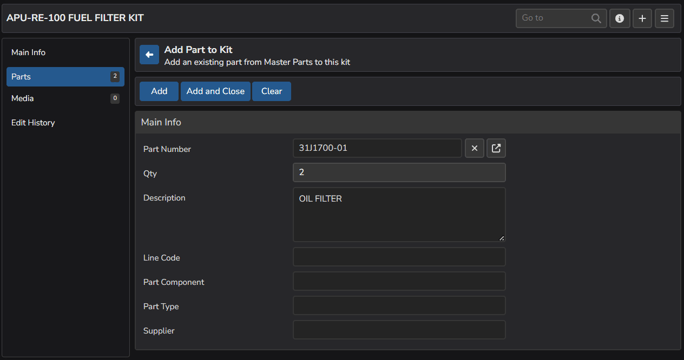
Search for and select the part to be added from the Master Parts list. Then, enter the quantity of that part included in each kit. Click Add if you have additional parts to add to the kit or Add and Close to return to Parts Kit List.
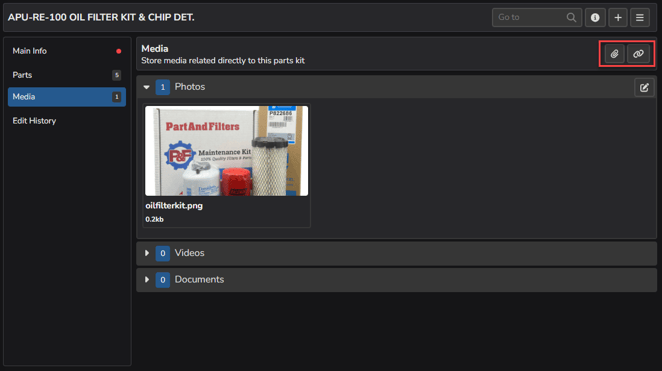
Photos or documents related to the Parts Kits can be uploaded under the Media subtab through the paperclip icon in the top right of the section or inserting a link to a video by selecting the link icon in the top right. (Please note that EBIS does not store uploaded videos - they must be uploaded to a video sharing site and saved via links/urls. See Logos & Media for additional information about managing media in EBIS)
Note: The Add & Edit Media and/or Delete Media User Access settings must be enabled for the specific User Profile that will be adding or removing media (images, videos, documents) to parts kits.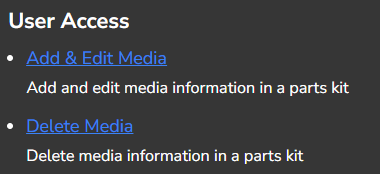
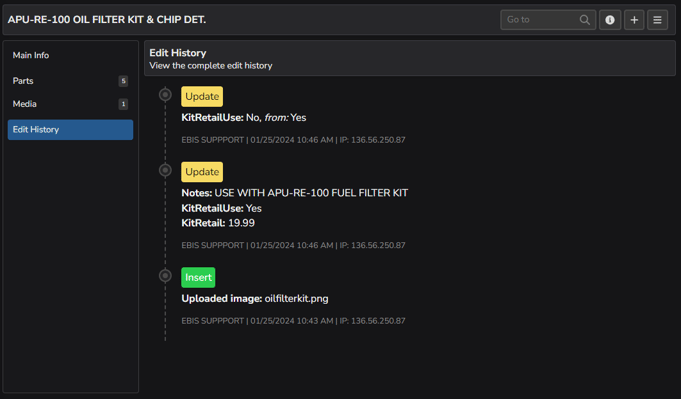
The edit history of that Parts Kit can be found under the Edit History subtab.
Edit an Existing Parts Kit
To edit an existing Parts Kit, proceed to Config > Parts Kit, find the Parts Kit that you wish to edit and double click to pull up the Manage Parts Kit screen, where notes, retail pricing, parts, and media can be added or updated. From the Main Info subtab, description, notes, and retail price for the Parts Kit can be managed.
Note: The Edit Parts Kit and View Parts Kits User Access setting must be enabled for the specific User Profile that will be editing parts kits.
Individual parts can be added to a Parts Kit via the Parts subtab by clicking the + in the top right of the section and searching for and selecting the part from the Master Parts list. Then, enter the quantity of that part included in each kit. Click Add if you have additional parts to add to the kit or Add and Close to return to Parts Kit List.
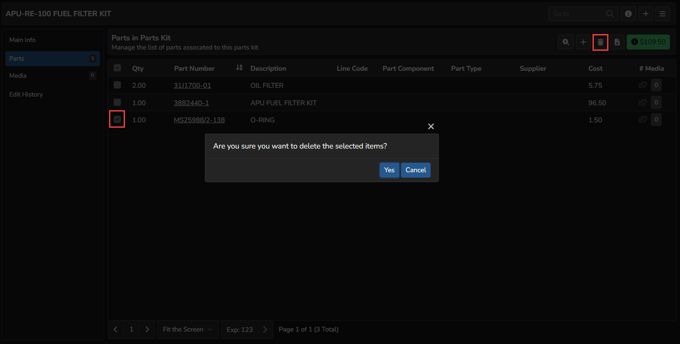
Parts can be removed from a Parts Kit by checking the box to the left of the part to be removed and clicking the Trash Icon. Click Yes in the confirmation pop-up box to complete.
Photos or documents related to the Parts Kits can be uploaded under the Media subtab through the paperclip icon in the top right of the section or inserting a link to a video by selecting the link icon in the top right. (Please note that EBIS does not store uploaded videos - they must be uploaded to a video sharing site and saved via links/urls. See Logos & Media for additional information about managing media in EBIS)
Note: The Add & Edit Media and/or Delete Media User Access settings must be enabled for the specific User Profile that will be adding or removing media (images, videos, documents) to parts kits.
The edit history of that Parts Kit can be found under the Edit History subtab.
Rename a Kit
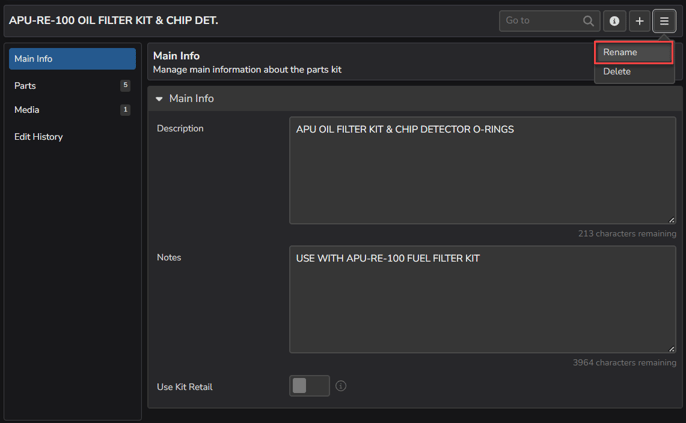
To update the name of an existing Parts Kit, proceed to Config > Parts Kit, double click the Kit that needs to be edited to pull up the Parts Kit screen, where notes, retail pricing, parts, and media can be added or updated. From the Main Info subtab, click the Hamburger menu (three horizontal lines) in the top right of the section and then Rename.
Note: The Edit Parts Kit and View Parts Kits User Access setting must be enabled for the specific User Profile that will be editing parts kits.
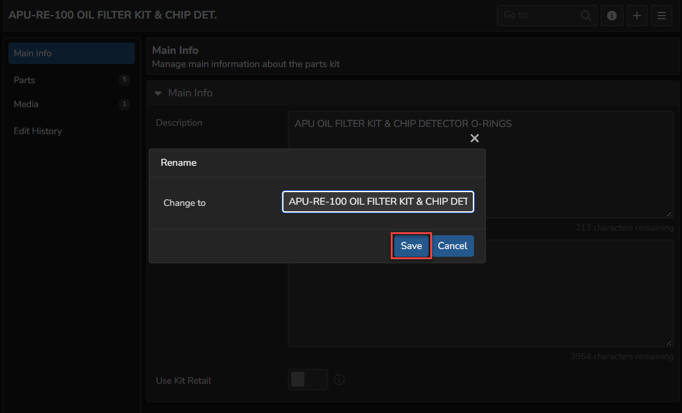
In the Rename pop-up box, enter the updated name of the item and click Save.
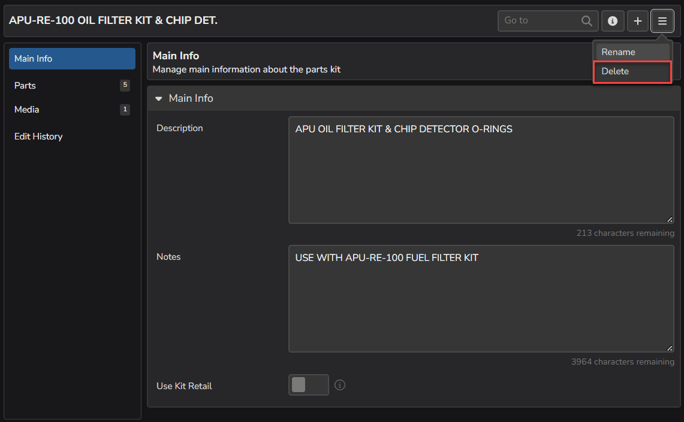
Delete a Kit
To delete an existing Parts Kit, proceed to Config > Parts Kit, double click the Kit that needs to be deleted to pull up the Parts Kit screen. From the Main Info subtab, click the Hamburger menu (three horizontal lines) in the top right of the section and then Delete. The Parts Kit will no longer display in your list.
Note: The Delete Parts Kit User Access setting must be enabled for the specific User Profile that will be deleting existing parts kits.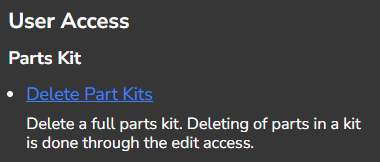
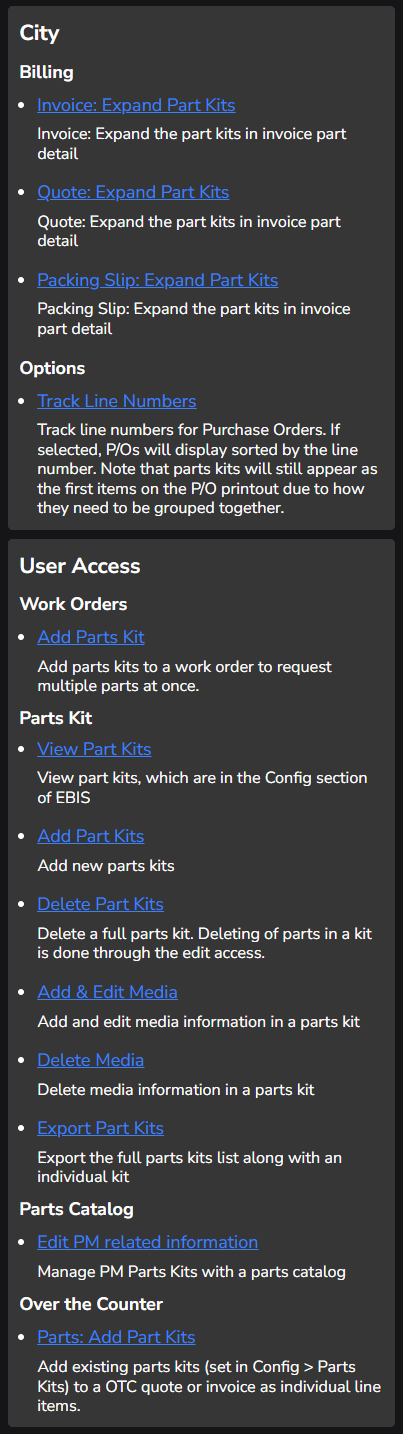
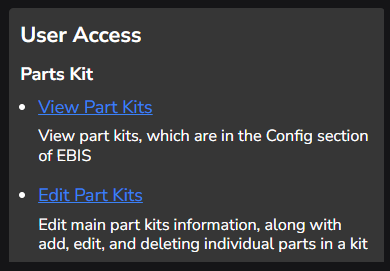
Access Requirements/Config Settings Related to Parts Kits
User Profile Config settings related to Parts Kits below: