Batch/Bulk Delete Master Parts Records
This article provides a step-by-step walkthrough of workflows for performing a batch/bulk delete of Master Parts Records through EBIS 5 Data Import Tools
⚠️NOTE: This operation requires a user to have an Advanced Access level user profile with Data Import abilities activated.
Introduction:
Within EBIS 5's Master Parts module, individual Master Parts records can easily be deleted through the hamburger menu located in each MP record:

In instances where parts administrators need to remove a batch of Master Parts records at once (EX: Failed Data Import) EBIS' data import tool can be used to efficiently delete multiple records in one action. See below for a walkthrough of this workflow.
Video Walkthrough:
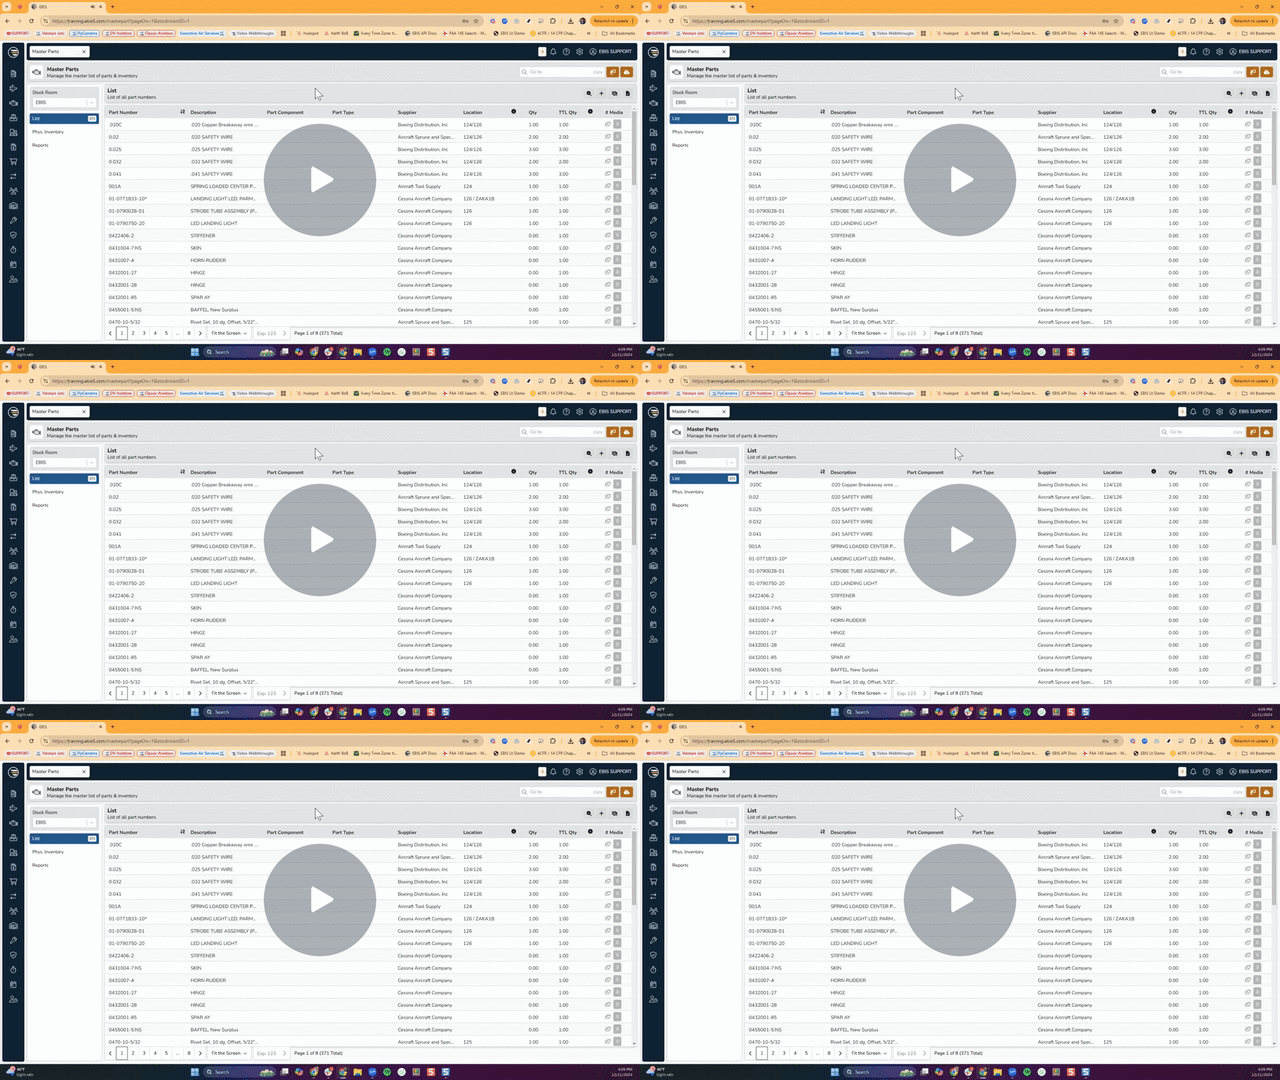
Walkthrough | Bulk Delete MasterParts Records with Data Import Tools 👩💼 - Watch Video

Key Steps:
-
Export Master Parts List:
-
Go to the master parts module.
-
Click on the export icon to download the master parts list as an Excel file.
-
-
Identify Parts to Delete:
-
Open the downloaded Excel file.
-
Identify the parts to delete and keep only the part numbers.
-
Add a new column named "delete" and mark the parts to delete with "yes" or "true".
-
-
Save File:
-
Save the Excel file with a name that identifies the master parts cleanup.
-
-
Import Data into EBIS:
-
Access EBIS and go to the configuration screen.
-
Navigate to the import data module.
-
Select "master parts" and choose "update existing records only".
-
Upload the cleaned-up Excel file with the marked parts for deletion.
-
-
Confirm Import Mapping:
-
Verify the mapping of the part number and the delete column.
-
-
Initiate Import Action:
-
Click on import, confirm the action, and let EBUS process the deletion.
-
If import results in Errors, download error report and submit to EBIS Support.
-
-
Verification:
-
Check the system to ensure that the deleted parts are no longer present.
-
Cautionary Notes
-
Ensure that you have the correct permissions and access level to perform this operation.
-
Double-check the parts marked for deletion before proceeding with the import.
Tips for Efficiency
-
Keep the Excel file organized with only the necessary information to streamline the deletion process.
-
Regularly spot-check the system to confirm that the deleted parts have been successfully removed.
Link to Loom
https://loom.com/share/a3ddce9d3abf4c179bcd8aee9c28a5c2?src=composer
