
1.) Enable Core Records for Each City
Go to Config > Cities > within each city, you can search "Core" which will result in a few options, the most important being "Generate Core Records". This must be enabled within each appropriate city.
2) Master Parts Individual Part Record Must be set for Cores
The part must have "Has Core" enabled in Master Parts (user must have access level: Master Parts > "Edit Main Information") and the Core Charge field can be filled in with the amount.
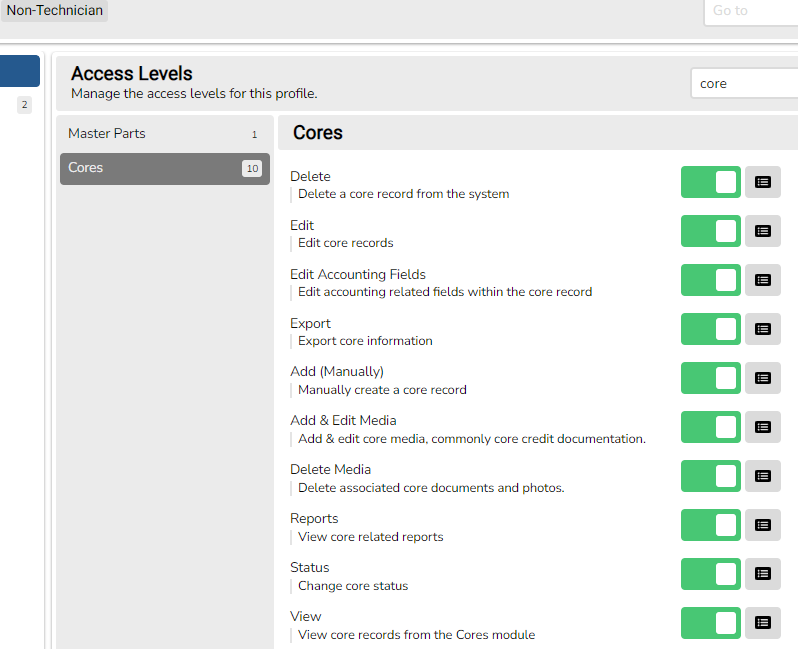
3.) User Access Must Be Set
Technicians can have access to View Cores and designate "Has Core" in Master Parts, but all other Core settings are for Non-Tech Profile types:
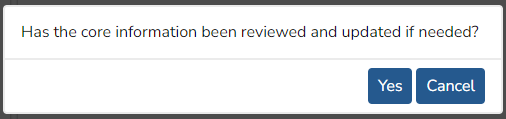
Once those are set, a core record will generate when it is has either been received on a PO, added to an OTC invoice or when the work order has been completed.
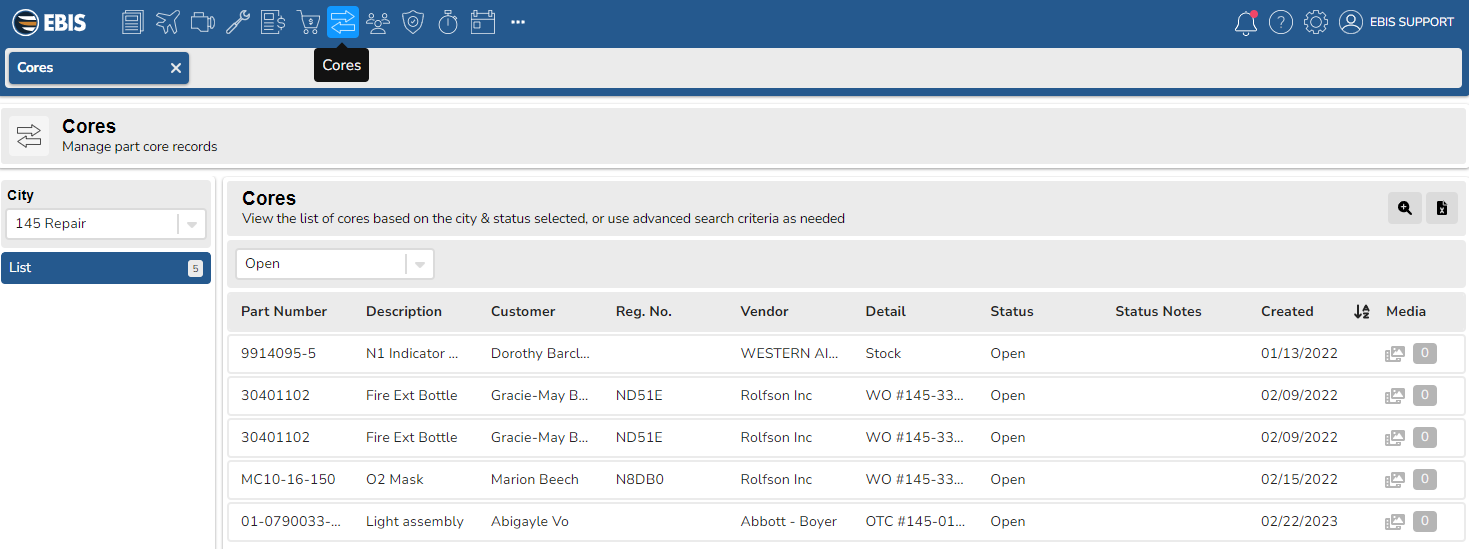
4.) Manage Your Core Records
Click on the Core Icon: 
Select a Core Record from the list to enter Notes, Track Shipping dates, Change Core Record Status, etc.
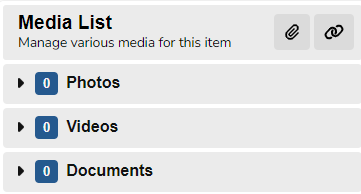
Within a Core Record, add necessary Media from the sidebar, then click the Paper Clip icon to attach to either Drag&Drop files or click the Browse link to find a local file on your computer.
Side Note: in List view of Master parts, you can select the Advanced Search icon, and enter the filter "Has Core", select Yes, then click on the "Search" button. The new list view will only display those parts within Master Parts that has "Has Core" enabled.
HOW & WHEN CORES ARE TRACKED:
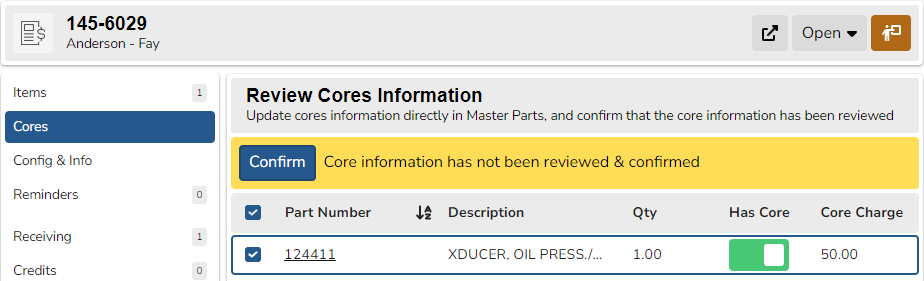
1.) From a PO: a core record will be created when the part is RECEIVED on the PO. Before changing status, EBIS will require a Core Confirmation on the PO. Check the box next to the Part Number and click the blue "Confirm" button.
2.) From OTC: a core record will be created when adding the stock part to the OTC invoice.
3.) From a W/O: a core record will be created on a stock part when the Work Order status is COMPLETED.